Confessions of a Self-Builder: Part 4
I’m back! So, just a little reminder, in my last blog I was eager and ready to kick off with building works when the Coronavirus pandemic hit us back in March. We suddenly found ourselves in lockdown.
It’s been a tough period as I was placed on furlough from my job and it hasn’t been an easy time for me and my family as we were forced to halt building work on our second self-build project.
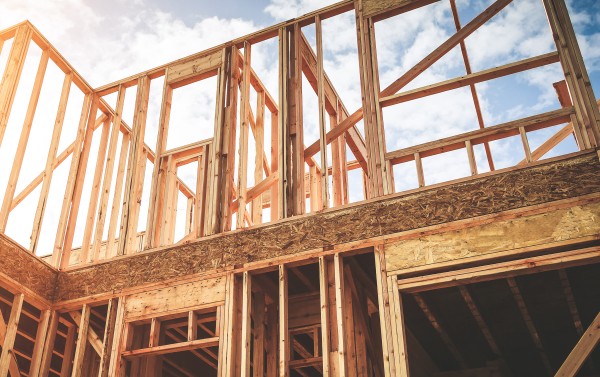
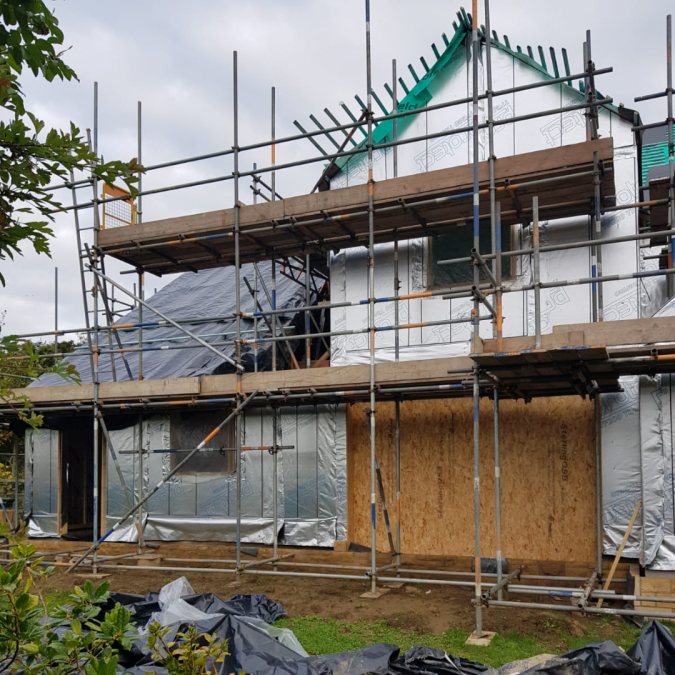
Weatherproofing our build
Work resumed in July and since then we’ve dug the foundations and our timber frame was finally delivered at the end of September and erected over the course of 10 days. Unfortunately, the site we’re building on is 6km away from an airfield and there were complaints and requests to shut the building work down because of the cranes (despite there being 50ft trees surrounding our site!). I had to pay for a temporary crane permit so I wasn’t happy about the complaints. We were allowed to proceed and we’re now making sure the structure is secure and weatherproof as winter is here.
As ever, the onus is on me as project manager to keep a roving eye on all parts of the build whether it’s checking the doorways are in the correct place to overseeing the steel.
My wife Rachael was faced with redundancy so between us we are keeping a close eye on the budgets. Rachael has been working for my part-time taxi business and to keep costs down we’ve hired a number of friends to help out with installing the insulation and plasterboard. I am waiting on a quote for our plumbing as I write. The original plan was to move into the house in August but the current plan (and hope) is to move in by Christmas, but with the pandemic showing no signs of abating we’re not holding our breath.
Money talks
Experience has taught me that negotiation is crucial and it’s never been more key during these uncertain times. I am keeping an eye on escalating costs. My spreadsheet is divided into mortgage, credit cards, VAT reclaim and my long (and ever-growing) to-do list. I was quoted £3,600 for some of our windows but with a bit of negotiation I managed to beat the quote and get it down to £2,900. Elsewhere, I managed to haggle again when it came to scaffolding. I was originally quoted £6,000 and I managed to knock £2,000 off the original quote! As a self-builder, you need to question the cost of everything and be persistent.
Knowledge is power
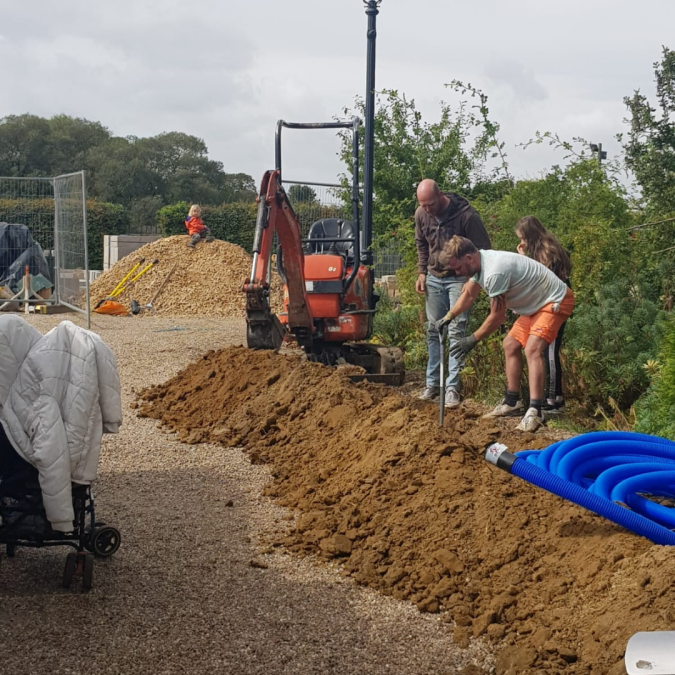
So, the next steps in the build involve connecting our services. In my last self-build I spent around £7,700 on utilities. I tried to negotiate as much as possible with this build but it’s looking like utilities will cost closer to £10,000. We’re looking at approximately £2,500 for gas, water cost £2,700 and electricity came in at £5,900. I originally received a quote of £3,100 for electricity so I’m not happy with the hike in the price but with a bit of questioning I managed to get this reduced to £4,890 so that’s a saving.
The gas and electricity pipes will fit into a 450mm wide service trench with a depth of 500mm. But they it must be a minimum of 250mm apart. This will be lined with the appropriate tape and then blinded with 75mm sand to stop any penetration from rocks etc. when back filling.
Water was connected in mid-October and I mustn’t forget to install a stop tap at my end (£22 for a tap). Yorkshire Water quoted £100 a metre to dig my trench which would have cost me a staggering £3,000 but a good mate and I did it for a few beers and £100. My kind of price!
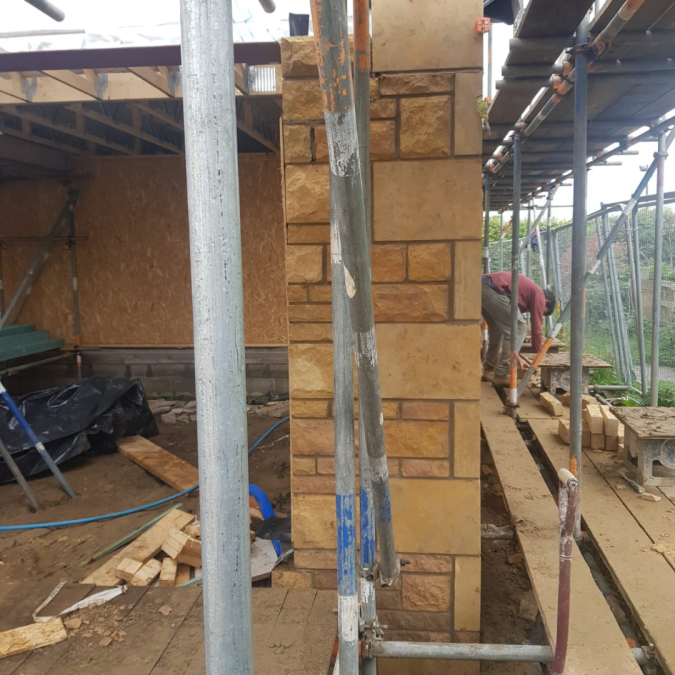
The gas pipes can’t be laid until meter boxes are installed by the stone layer, which is his first job so I can remove the scaffold. Both gas and electricity installers will not work below scaffold. The plan is to build the end gable, remove the scaffolding and begin digging the service trench to 500mm deep.
Safe and sound
Elsewhere, we are focusing on the insulation. For all the external walls we’re using 120mm PIR which was installed between the stud work at the timber frame factory. We chose this route because so many people think they can just install insulation and then you find air gaps and this could lead to failing your air tightness test at the end of your self-build.
For the flooring we are using 150mm PIR and 75mm screed and between floors we’ve selected 100mm soundproof earth wool slabs (50mm is the recommended amount but we’re going further). On the roof we opted for 225mm of earth wool in rafter trusses underdrawn with 25mm PIR and plasterboard. We are installing 300mm insulation over the roof joists in the loft (not forgetting to leave the 50mm breather gap).
The last six months have definitely thrown a lot of challenges our way but Rachael and I have supported each other and are so glad we bit the bullet and took on this project. The one saving grace in all of this is our fantastic architect who has been great at instructing the builder. Believe it or not, I’d love to do this all over again, so watch this space!
Catch up on the next part of James' self-build journey in the next installation of his blog, Confessions of a Self-Builder: Part 5.